Pyramid Maze
From DT Online

What to Make:
Design and make a marble maze puzzle based on the pyramids if Ancient Egypt.

What to Use:
- Decide on size and design on squared paper or choose a piece of card between 150mm and 200mm square.
- Choose a marble, ball bearing or bead of approx 15mm diameter.
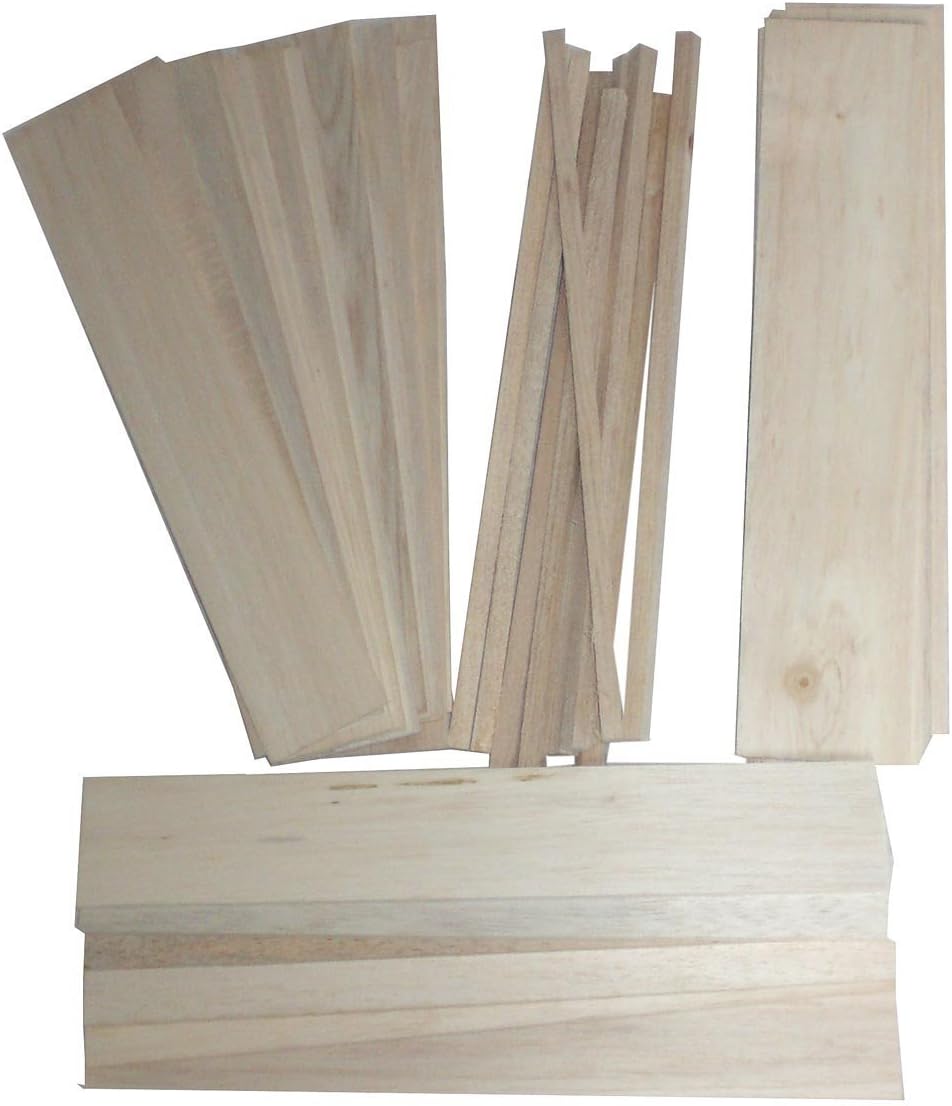
- Use 8mm or 12mm square stripwood to make the frames.
- You will also need PVA wood glue to join everything together, paint and a Pritt Stick or similar with which to glue on any surface decoration.
Things to find out and think about:
- Try out or look at any puzzles and games you are able to find which involve rolling a marble or ball bearing around - until it drops into a target hole for example.
- Use your favourite internet Search Engine to find out about Ancient Egypt and the Great Pyramid of Giza.
- Find out about Hieroglyphics and the Rosetta Stone as a source of possible surface decoration.
- Measure the diameter of some marbles to find one the right size.

Some ideas:
- Simple puzzles can be created within a transparent CD Case comprising a printed card (of the Great Pyramid of Giza for example), into which is punched a hole to serve as a target for a small rolling ball bearing.
- Similar puzzles can be created for larger diameter marbles or beads by making a frame from stripwood and covering with clear plastic sheet - fixed using thin strips of Double-Sided Tape for example.
- Cylindrical cases made to store computer CDs can be used to house 3D puzzles.
Ways of Making:
 Glue an outer frame around the card square leaving a space for doorway or exit for a marble, large bead or ball bearing.
|
 Build a simple maze for the marble etc. checking track clearance such that the marble can roll easily round.
|
 Build up the outer frame to 2 stripwood thicknesses. Ensure that the marble size is less than the height of the outer frame.
|
 Cut out a card lid the same size as the base. Decide where the ball will drop through and cut out a square.
|
 Continue with extra layers if needed and assemble game by joining layers together.
|
 Cut out 4 card Equilateral Triangles. Cut an aperture in one triangle for the ball to enter, then assemble the top pyramid by gluing them all together. Strips of masking tape on the inside can be used to help hold the triangles in place until the glue sets. You may wish to place them onto a wider base.
|
 Add other layers as you wish. They could be just hollow or more complicated mazes. Also add final touches such as entrances, painting and hieroglyphics - e.g. . . . . .
|
Testing:
- Ask your friends to try the game.
- Time how long it takes them to solve the puzzle the first time and then after several attempts.
- Ask your friends to score the game out of 10 where 0 = boring and 10 = too difficult.
- How will you change the puzzle to make it less boring or more challenging as required?
Further Work:
- Find out how the pyramids were built:
- who were they built for?
- how did they measure them so accurately?
- how did they get the very heavy stones up to the top of the pyramids?
- how long did it take to build each one?
- Structures and Frames can also be modelled using the Construction Kits listed in the Truss Bridges and Looking at Bridges articles.
Safety Point! Take great care with hot glue guns and all hot-melt glues. The melted glue can stick to the skin and cause severe burns.
 |
 |
 |
 |
 |
 |
 |
 |
 |
 |
 |
| Junior Hacksaw |
Clamp-on Hobby Vice |
Stripwood |
Balsa Wood |
Medium card coloured |
Thick card coloured |
Cutting Mat |
10mm Squared Paper |
PVA glue |
Glue Gun |
Bamboo Flower Sticks |
Notes:
- Choose metal cutting hacksaw blades - the teeth are small which suits this scale of work and they are safer for young children
- School PVA glue is best for young children because it is non-toxic and washes off : PVA Wood Glue is strongest but must be used with care.
- Try to get natural Flower Sticks or wear gloves because the green stain comes off on hands!