Modelling Frames
From DT Online
Lengths of Stripwood can be joined together by gluing card triangular Gussets over each joint. Typically these are glued each side of a Butt Joint or in-between an over-lapping joint.
Complex frames (e.g. for bridges, roof trusses or timber framed buildings) can be drawn out full-size and the frames assembled over the drawing.
Material Preparation
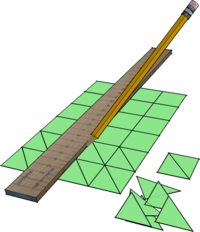
| Making Card Triangles | These are cut out from medium card, and are used as Gussets to join together pieces of Stripwood by brushing on PVA glue. A useful size is 30mm x 30mm which can most easily be marked out using the width of a wooden ruler as a guide. | |
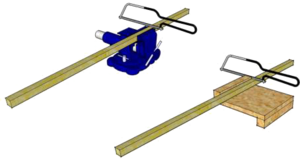
| Cutting Stripwood | Thin strips of Softwood or Jelutong, most commonly 8mm square but also 10mm and 12mm square, provide an easy to cut and glue material for modelling (e.g. using a Junior Hacksaw and PVA).
|
2D Frames
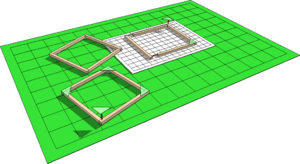
| Basic Frame Construction | Squared paper or graph paper can be used to mark out simple rectangluar frames (e.g. for a vehicle chassis) and used to mark out and cut pieces of Stripwood to length.
|
|
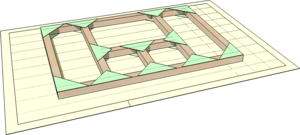
| Setting Out Frames | More complex frames are built in the same way and can be started by making a full-size drawing. Once again, using squared paper or graph paper will help to keep the drawing accurate. Alternatively, the design can be produced on a computer using CAD software then printed out.
|
3D Frames
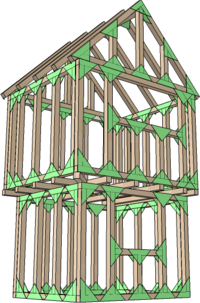
| Assembling 2D Frames | Always try to think of 3D, box-like structures as a series of flat frames joined together and make these first.
|
|
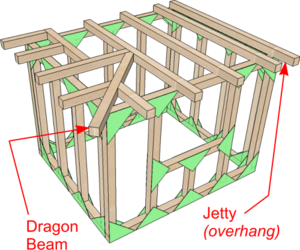
| Timber Framed House | This technique is ideal for modelling buildings and similar structures - especially traditional Timber Framed Buildings.
Note: When the Great Fire of London started at the Pudding Lane bakery of Thomas Farriner 2nd September 1666, one of the reasons the fire spread so quickly was the closeness of the wooden Jetties to those of the buildings opposite. As a consequence they were banned in London after the Great Fire |
|
| Old Wool Hall in Levenham, Suffolk | [[
|
|

